How To Clean Dirt Bike Graphics
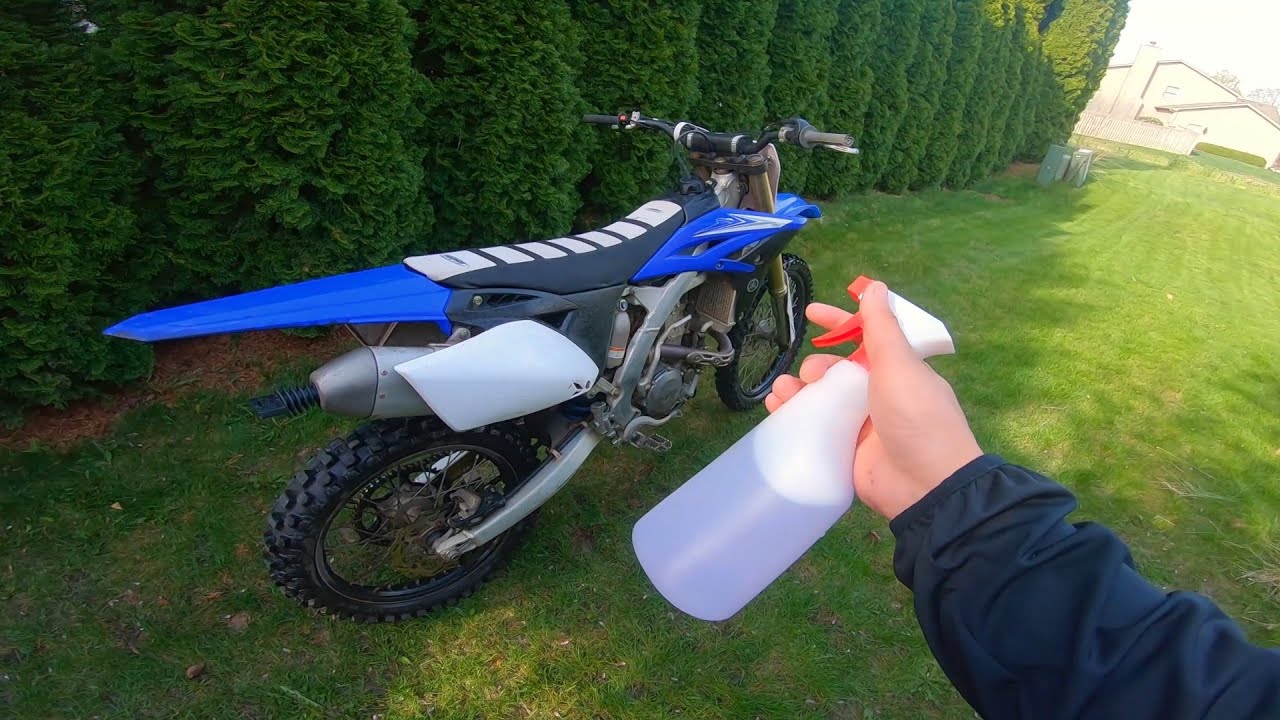
For me I got a good bucket of soapy water and thoroughly cleaned off ALL dirt for my graphics. This is key to keeping a strong bond between your new graphics and the plastics.
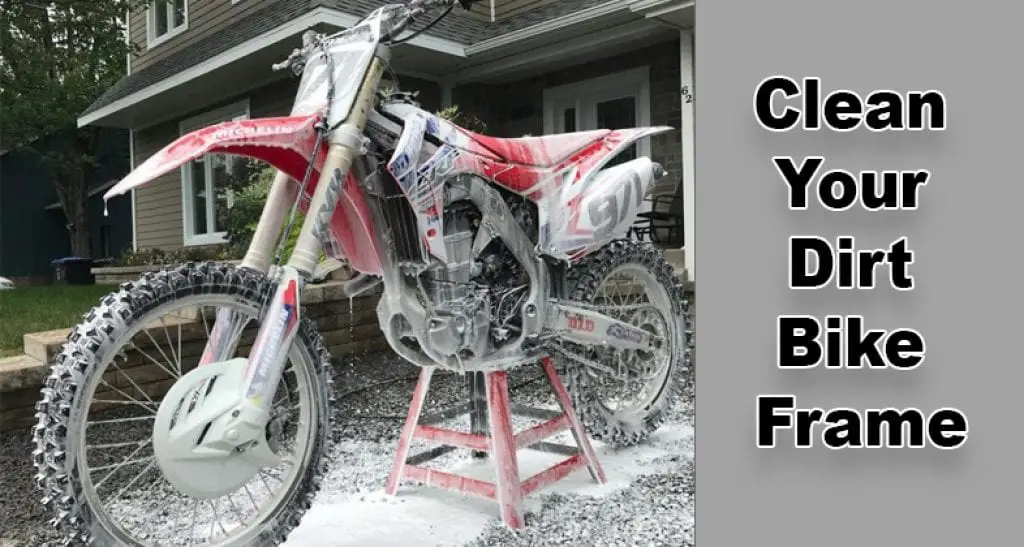
How do you clean dirt bike plastic before graphics? First, use brake cleaner and paper towel to clean plastics matte. Then use an alcohol.
How to remove dirt bike graphics So you've got some old graphics to remove before applying your new kit-here's how to do it right. 1) Warm the graphics up (optional) Warming the old graphics with a heat gun or hair dryer can help soften the adhesive, making them easier to peel off. This step isn't always necessary, but it can save time in.
Proper technique during cleaning is crucial to maintain the longevity of dirt bike graphics. First of all, start by wetting the graphics with soapy water and gently wipe away dirt in a circular motion.
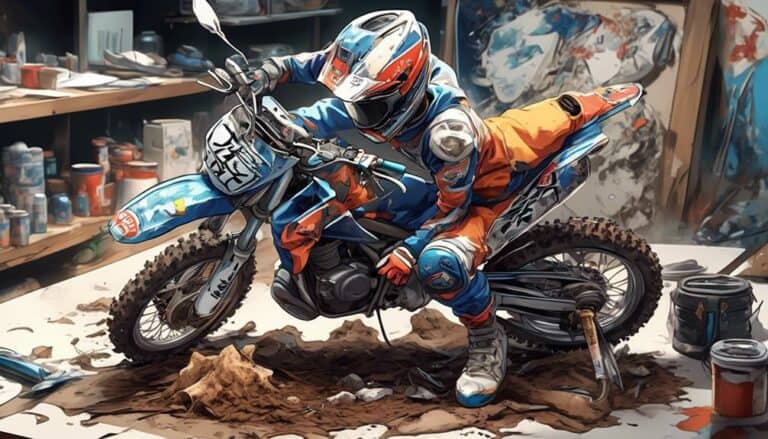
The materials required are rubbing alcohol, water, and soap for cleaning the surface after removing the graphics. The Removal Process Step-by-Step Guide on Peeling Off the Old Graphics Peeling off old dirt bike graphics may seem like a daunting task, but with the right tools and techniques, it can be a straightforward process.
How to remove dirt bike graphics So you've got some old graphics to remove before applying your new kit-here's how to do it right. 1) Warm the graphics up (optional) Warming the old graphics with a heat gun or hair dryer can help soften the adhesive, making them easier to peel off. This step isn't always necessary, but it can save time in.
Table of Contents Key Takeaways Gather the necessary tools, such as a heat gun, plastic razor blade, adhesive remover, and clean cloth, for removing dirt bike graphics. Prepare the dirt bike surface by removing loose dirt or debris, cleaning it with a mild detergent and water solution, and drying it thoroughly.
For me I got a good bucket of soapy water and thoroughly cleaned off ALL dirt for my graphics. This is key to keeping a strong bond between your new graphics and the plastics.
How To - Install Dirt Bike Graphics - YouTube

Table of Contents Key Takeaways Gather the necessary tools, such as a heat gun, plastic razor blade, adhesive remover, and clean cloth, for removing dirt bike graphics. Prepare the dirt bike surface by removing loose dirt or debris, cleaning it with a mild detergent and water solution, and drying it thoroughly.
I peeled of old crappy graphics on my front fender and side plates. How do I get the rest of the residue off?
The materials required are rubbing alcohol, water, and soap for cleaning the surface after removing the graphics. The Removal Process Step-by-Step Guide on Peeling Off the Old Graphics Peeling off old dirt bike graphics may seem like a daunting task, but with the right tools and techniques, it can be a straightforward process.
How do you clean dirt bike plastic before graphics? First, use brake cleaner and paper towel to clean plastics matte. Then use an alcohol.
Installing Dirt Bike Graphics On Clean Plastics To Ensure Proper ...

For me I got a good bucket of soapy water and thoroughly cleaned off ALL dirt for my graphics. This is key to keeping a strong bond between your new graphics and the plastics.
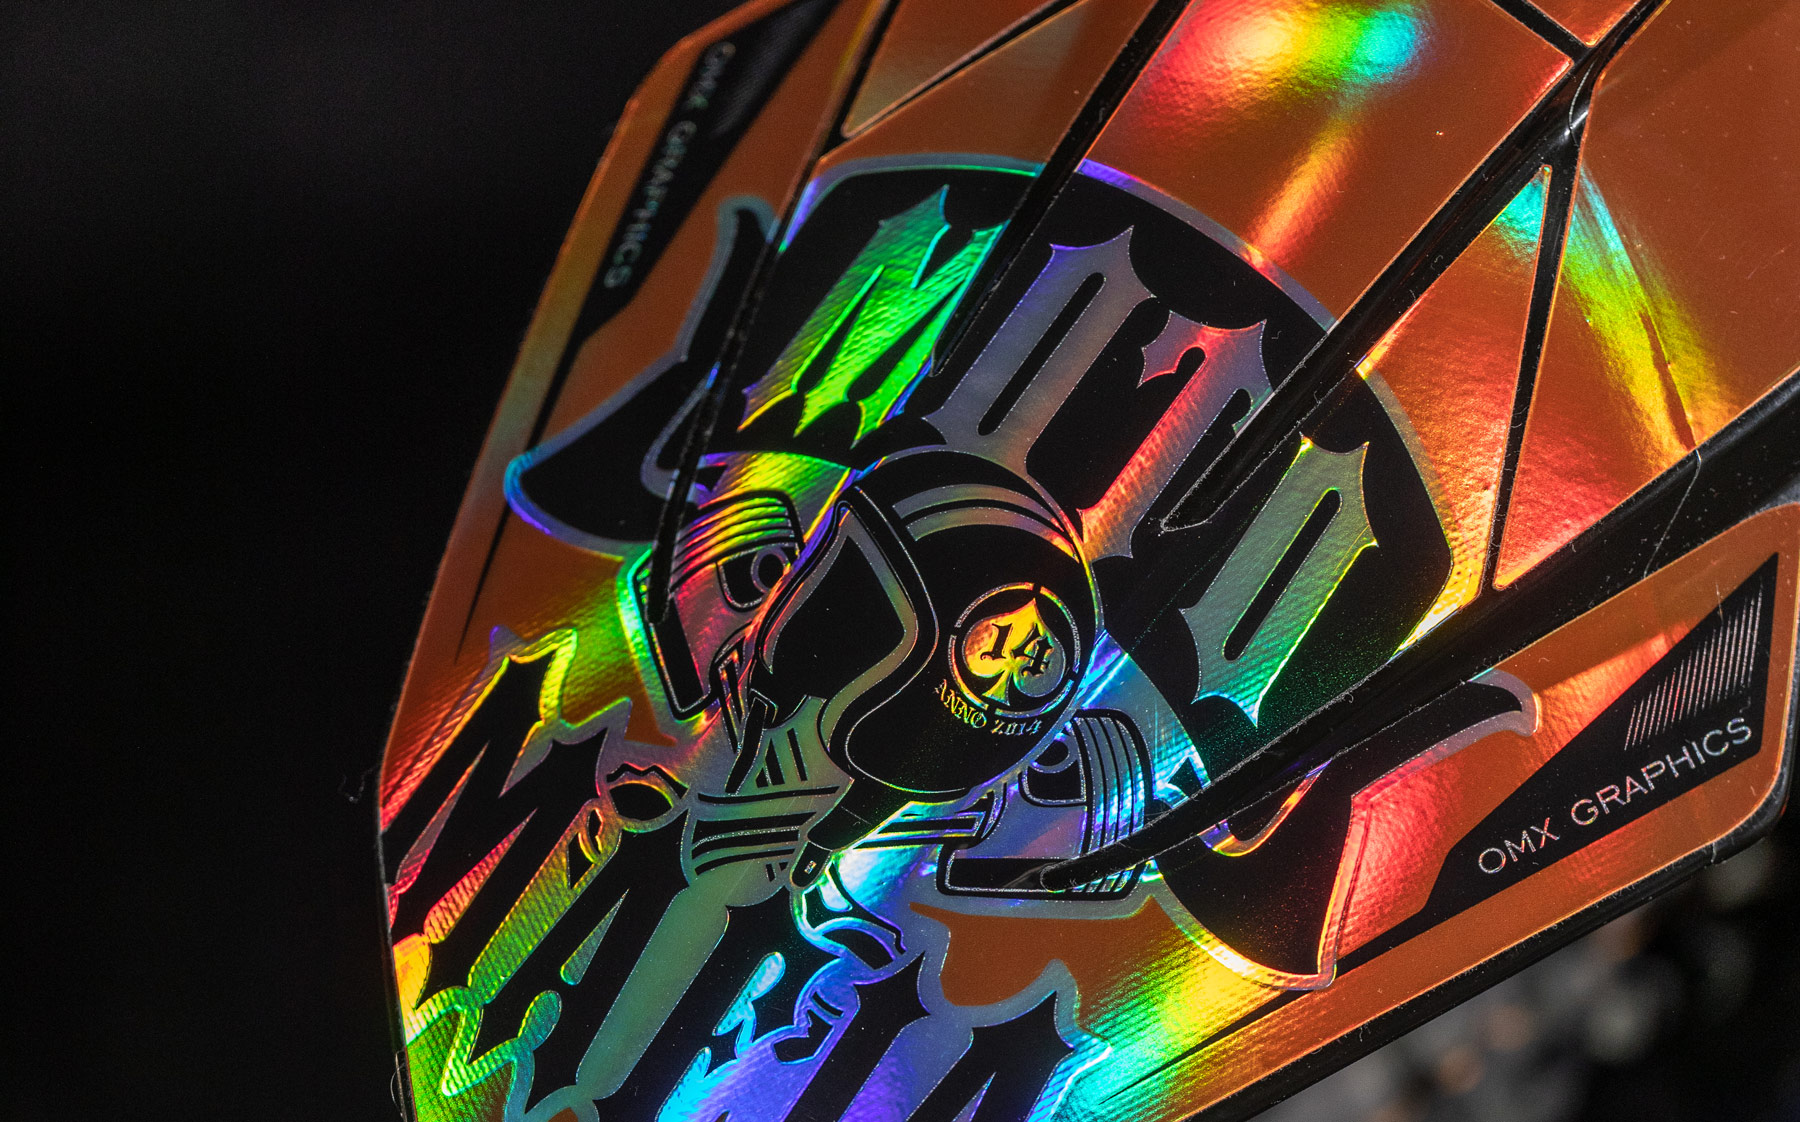
Learn how to keep your dirt bike looking fresh after a tough season with these pro tips! From giving your bike a proper clean to inspecting graphics, fork seals, and plastics for damage, this guide covers it all. Refresh your style with Omega Moto Graphics' durable graphics kits or custom upgrades, and protect your investment with clear wraps and proper storage. Ready to gear up for your.
Table of Contents Key Takeaways Gather the necessary tools, such as a heat gun, plastic razor blade, adhesive remover, and clean cloth, for removing dirt bike graphics. Prepare the dirt bike surface by removing loose dirt or debris, cleaning it with a mild detergent and water solution, and drying it thoroughly.
How do you clean dirt bike plastic before graphics? First, use brake cleaner and paper towel to clean plastics matte. Then use an alcohol.
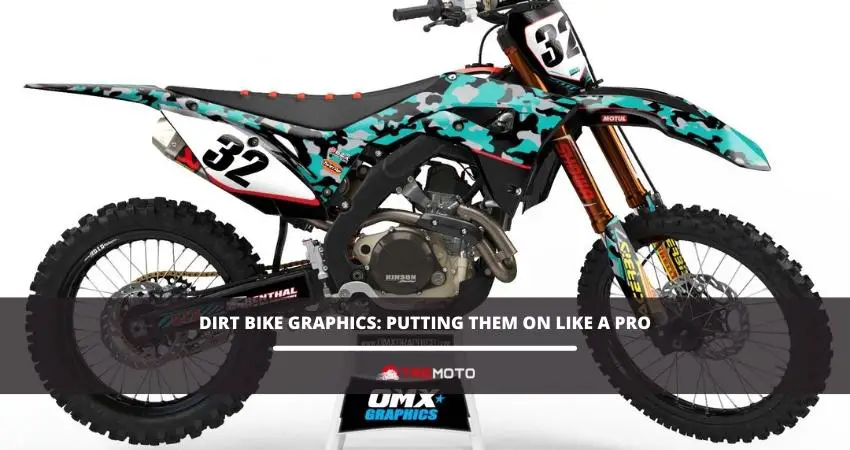
Dirt Bike Graphics: Putting Them On Like A Pro - TreMoto
How do you clean dirt bike plastic before graphics? First, use brake cleaner and paper towel to clean plastics matte. Then use an alcohol.
Proper technique during cleaning is crucial to maintain the longevity of dirt bike graphics. First of all, start by wetting the graphics with soapy water and gently wipe away dirt in a circular motion.
For me I got a good bucket of soapy water and thoroughly cleaned off ALL dirt for my graphics. This is key to keeping a strong bond between your new graphics and the plastics.
How to remove dirt bike graphics So you've got some old graphics to remove before applying your new kit-here's how to do it right. 1) Warm the graphics up (optional) Warming the old graphics with a heat gun or hair dryer can help soften the adhesive, making them easier to peel off. This step isn't always necessary, but it can save time in.
How To Remove Dirt Bike Graphics | Dirt Bike Empire
I peeled of old crappy graphics on my front fender and side plates. How do I get the rest of the residue off?
How to remove dirt bike graphics So you've got some old graphics to remove before applying your new kit-here's how to do it right. 1) Warm the graphics up (optional) Warming the old graphics with a heat gun or hair dryer can help soften the adhesive, making them easier to peel off. This step isn't always necessary, but it can save time in.
Proper technique during cleaning is crucial to maintain the longevity of dirt bike graphics. First of all, start by wetting the graphics with soapy water and gently wipe away dirt in a circular motion.
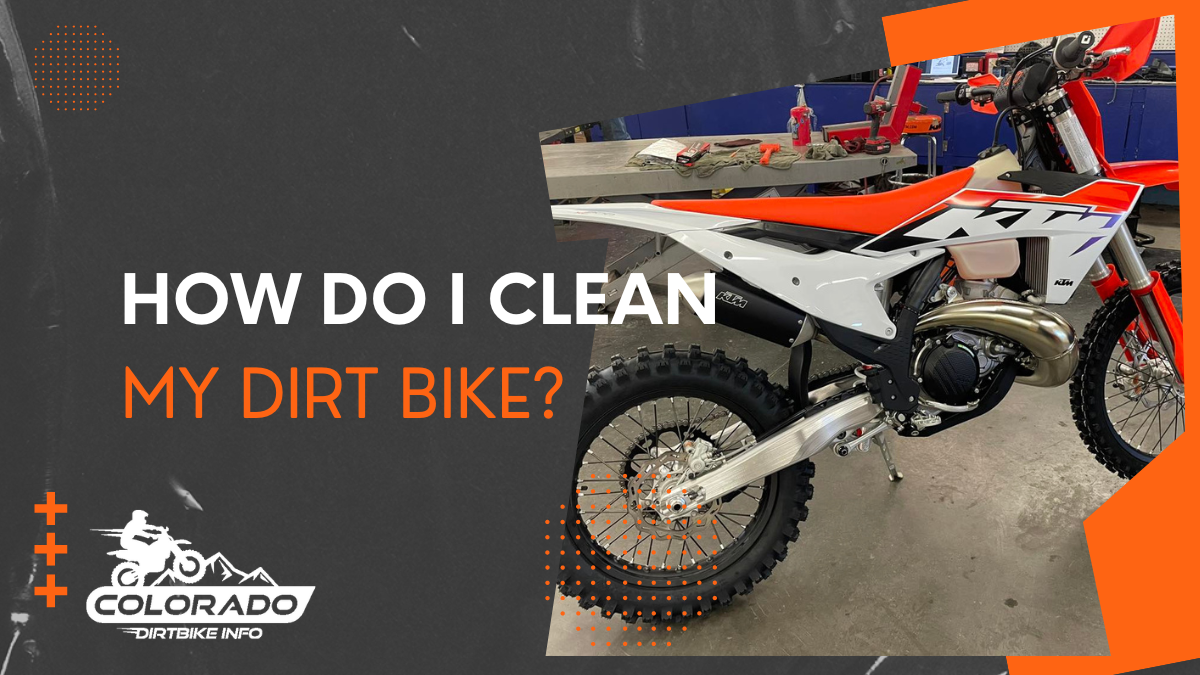
Restoring Dirt Bike Plastics First things first - start with a clean bike. Follow our Dirt Bike Cleaning Tips & Tricks guide to get your dirt bike prim and proper. A popular choice and easy option is of course to invest in a full graphics kit.
MotoSport How To: Install Motocross Graphics | MotoSport

How do you clean dirt bike plastic before graphics? First, use brake cleaner and paper towel to clean plastics matte. Then use an alcohol.
Restoring Dirt Bike Plastics First things first - start with a clean bike. Follow our Dirt Bike Cleaning Tips & Tricks guide to get your dirt bike prim and proper. A popular choice and easy option is of course to invest in a full graphics kit.
Table of Contents Key Takeaways Gather the necessary tools, such as a heat gun, plastic razor blade, adhesive remover, and clean cloth, for removing dirt bike graphics. Prepare the dirt bike surface by removing loose dirt or debris, cleaning it with a mild detergent and water solution, and drying it thoroughly.
Learn how to keep your dirt bike looking fresh after a tough season with these pro tips! From giving your bike a proper clean to inspecting graphics, fork seals, and plastics for damage, this guide covers it all. Refresh your style with Omega Moto Graphics' durable graphics kits or custom upgrades, and protect your investment with clear wraps and proper storage. Ready to gear up for your.
How To Clean Your Dirt Bike - Using Motoverde Products - YouTube

Meanwhile go check out all the cool custom dirt bike graphic kits here on OMX website. When the water is well soaked-in, take a bike brush and start scrubbing. This will work off all the stubborn pieces of dirt off your dirt bike. After that, take a sponge or a trustworthy cleaning agent (a nice DIY solution is a mixture of water and dish soap).
Table of Contents Key Takeaways Gather the necessary tools, such as a heat gun, plastic razor blade, adhesive remover, and clean cloth, for removing dirt bike graphics. Prepare the dirt bike surface by removing loose dirt or debris, cleaning it with a mild detergent and water solution, and drying it thoroughly.
How do you clean dirt bike plastic before graphics? First, use brake cleaner and paper towel to clean plastics matte. Then use an alcohol.
How to remove dirt bike graphics So you've got some old graphics to remove before applying your new kit-here's how to do it right. 1) Warm the graphics up (optional) Warming the old graphics with a heat gun or hair dryer can help soften the adhesive, making them easier to peel off. This step isn't always necessary, but it can save time in.
Dirt Bike Spring Cleaning Tips | Colorado Trail Networks
How to remove dirt bike graphics So you've got some old graphics to remove before applying your new kit-here's how to do it right. 1) Warm the graphics up (optional) Warming the old graphics with a heat gun or hair dryer can help soften the adhesive, making them easier to peel off. This step isn't always necessary, but it can save time in.
Proper technique during cleaning is crucial to maintain the longevity of dirt bike graphics. First of all, start by wetting the graphics with soapy water and gently wipe away dirt in a circular motion.
Meanwhile go check out all the cool custom dirt bike graphic kits here on OMX website. When the water is well soaked-in, take a bike brush and start scrubbing. This will work off all the stubborn pieces of dirt off your dirt bike. After that, take a sponge or a trustworthy cleaning agent (a nice DIY solution is a mixture of water and dish soap).
I peeled of old crappy graphics on my front fender and side plates. How do I get the rest of the residue off?
Cleaning And Installing New Dirt Bike Graphics - YouTube

Restoring Dirt Bike Plastics First things first - start with a clean bike. Follow our Dirt Bike Cleaning Tips & Tricks guide to get your dirt bike prim and proper. A popular choice and easy option is of course to invest in a full graphics kit.
How do you clean dirt bike plastic before graphics? First, use brake cleaner and paper towel to clean plastics matte. Then use an alcohol.
The materials required are rubbing alcohol, water, and soap for cleaning the surface after removing the graphics. The Removal Process Step-by-Step Guide on Peeling Off the Old Graphics Peeling off old dirt bike graphics may seem like a daunting task, but with the right tools and techniques, it can be a straightforward process.
I peeled of old crappy graphics on my front fender and side plates. How do I get the rest of the residue off?
MotoSport How To: Install Motocross Graphics | MotoSport

Table of Contents Key Takeaways Gather the necessary tools, such as a heat gun, plastic razor blade, adhesive remover, and clean cloth, for removing dirt bike graphics. Prepare the dirt bike surface by removing loose dirt or debris, cleaning it with a mild detergent and water solution, and drying it thoroughly.
How to remove dirt bike graphics So you've got some old graphics to remove before applying your new kit-here's how to do it right. 1) Warm the graphics up (optional) Warming the old graphics with a heat gun or hair dryer can help soften the adhesive, making them easier to peel off. This step isn't always necessary, but it can save time in.
How do you clean dirt bike plastic before graphics? First, use brake cleaner and paper towel to clean plastics matte. Then use an alcohol.
Meanwhile go check out all the cool custom dirt bike graphic kits here on OMX website. When the water is well soaked-in, take a bike brush and start scrubbing. This will work off all the stubborn pieces of dirt off your dirt bike. After that, take a sponge or a trustworthy cleaning agent (a nice DIY solution is a mixture of water and dish soap).
How To Clean Dirt Bike Cylinder Head At Phyllis Lange Blog
For me I got a good bucket of soapy water and thoroughly cleaned off ALL dirt for my graphics. This is key to keeping a strong bond between your new graphics and the plastics.
The materials required are rubbing alcohol, water, and soap for cleaning the surface after removing the graphics. The Removal Process Step-by-Step Guide on Peeling Off the Old Graphics Peeling off old dirt bike graphics may seem like a daunting task, but with the right tools and techniques, it can be a straightforward process.
Learn how to keep your dirt bike looking fresh after a tough season with these pro tips! From giving your bike a proper clean to inspecting graphics, fork seals, and plastics for damage, this guide covers it all. Refresh your style with Omega Moto Graphics' durable graphics kits or custom upgrades, and protect your investment with clear wraps and proper storage. Ready to gear up for your.
Meanwhile go check out all the cool custom dirt bike graphic kits here on OMX website. When the water is well soaked-in, take a bike brush and start scrubbing. This will work off all the stubborn pieces of dirt off your dirt bike. After that, take a sponge or a trustworthy cleaning agent (a nice DIY solution is a mixture of water and dish soap).
How To Apply Dirt Bike Graphics - LoveMyEngine
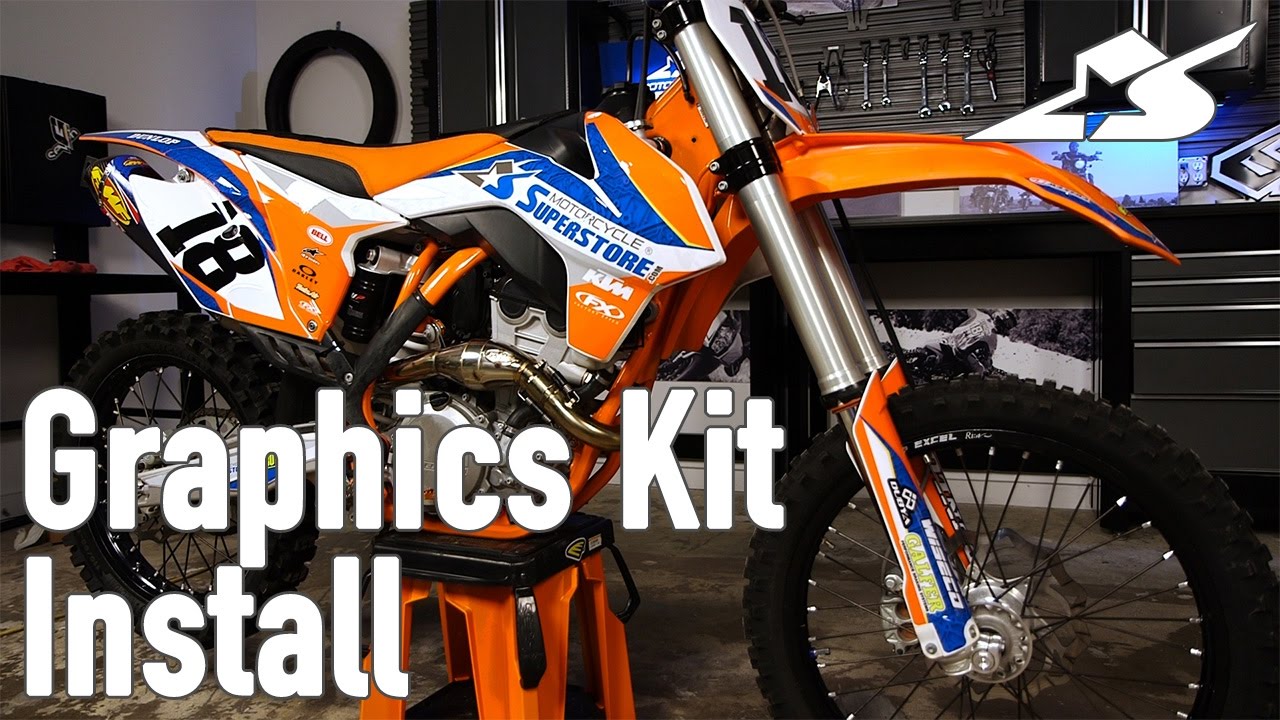
Table of Contents Key Takeaways Gather the necessary tools, such as a heat gun, plastic razor blade, adhesive remover, and clean cloth, for removing dirt bike graphics. Prepare the dirt bike surface by removing loose dirt or debris, cleaning it with a mild detergent and water solution, and drying it thoroughly.
How to remove dirt bike graphics So you've got some old graphics to remove before applying your new kit-here's how to do it right. 1) Warm the graphics up (optional) Warming the old graphics with a heat gun or hair dryer can help soften the adhesive, making them easier to peel off. This step isn't always necessary, but it can save time in.
How do you clean dirt bike plastic before graphics? First, use brake cleaner and paper towel to clean plastics matte. Then use an alcohol.
The materials required are rubbing alcohol, water, and soap for cleaning the surface after removing the graphics. The Removal Process Step-by-Step Guide on Peeling Off the Old Graphics Peeling off old dirt bike graphics may seem like a daunting task, but with the right tools and techniques, it can be a straightforward process.
Cleaning A Dirt Bike Motor At James Jain Blog

How do you clean dirt bike plastic before graphics? First, use brake cleaner and paper towel to clean plastics matte. Then use an alcohol.
Learn how to keep your dirt bike looking fresh after a tough season with these pro tips! From giving your bike a proper clean to inspecting graphics, fork seals, and plastics for damage, this guide covers it all. Refresh your style with Omega Moto Graphics' durable graphics kits or custom upgrades, and protect your investment with clear wraps and proper storage. Ready to gear up for your.
Proper technique during cleaning is crucial to maintain the longevity of dirt bike graphics. First of all, start by wetting the graphics with soapy water and gently wipe away dirt in a circular motion.
Restoring Dirt Bike Plastics First things first - start with a clean bike. Follow our Dirt Bike Cleaning Tips & Tricks guide to get your dirt bike prim and proper. A popular choice and easy option is of course to invest in a full graphics kit.
How To Clean Dirt Bike Without A Pressure Washer? | Cleanestor

How to remove dirt bike graphics So you've got some old graphics to remove before applying your new kit-here's how to do it right. 1) Warm the graphics up (optional) Warming the old graphics with a heat gun or hair dryer can help soften the adhesive, making them easier to peel off. This step isn't always necessary, but it can save time in.
Table of Contents Key Takeaways Gather the necessary tools, such as a heat gun, plastic razor blade, adhesive remover, and clean cloth, for removing dirt bike graphics. Prepare the dirt bike surface by removing loose dirt or debris, cleaning it with a mild detergent and water solution, and drying it thoroughly.
Restoring Dirt Bike Plastics First things first - start with a clean bike. Follow our Dirt Bike Cleaning Tips & Tricks guide to get your dirt bike prim and proper. A popular choice and easy option is of course to invest in a full graphics kit.
The materials required are rubbing alcohol, water, and soap for cleaning the surface after removing the graphics. The Removal Process Step-by-Step Guide on Peeling Off the Old Graphics Peeling off old dirt bike graphics may seem like a daunting task, but with the right tools and techniques, it can be a straightforward process.
How To Polish Dirt Bike Frame - Dirt Bike Moto
How to remove dirt bike graphics So you've got some old graphics to remove before applying your new kit-here's how to do it right. 1) Warm the graphics up (optional) Warming the old graphics with a heat gun or hair dryer can help soften the adhesive, making them easier to peel off. This step isn't always necessary, but it can save time in.
How do you clean dirt bike plastic before graphics? First, use brake cleaner and paper towel to clean plastics matte. Then use an alcohol.
Restoring Dirt Bike Plastics First things first - start with a clean bike. Follow our Dirt Bike Cleaning Tips & Tricks guide to get your dirt bike prim and proper. A popular choice and easy option is of course to invest in a full graphics kit.
The materials required are rubbing alcohol, water, and soap for cleaning the surface after removing the graphics. The Removal Process Step-by-Step Guide on Peeling Off the Old Graphics Peeling off old dirt bike graphics may seem like a daunting task, but with the right tools and techniques, it can be a straightforward process.
How to remove dirt bike graphics So you've got some old graphics to remove before applying your new kit-here's how to do it right. 1) Warm the graphics up (optional) Warming the old graphics with a heat gun or hair dryer can help soften the adhesive, making them easier to peel off. This step isn't always necessary, but it can save time in.
For me I got a good bucket of soapy water and thoroughly cleaned off ALL dirt for my graphics. This is key to keeping a strong bond between your new graphics and the plastics.
Meanwhile go check out all the cool custom dirt bike graphic kits here on OMX website. When the water is well soaked-in, take a bike brush and start scrubbing. This will work off all the stubborn pieces of dirt off your dirt bike. After that, take a sponge or a trustworthy cleaning agent (a nice DIY solution is a mixture of water and dish soap).
How do you clean dirt bike plastic before graphics? First, use brake cleaner and paper towel to clean plastics matte. Then use an alcohol.
Table of Contents Key Takeaways Gather the necessary tools, such as a heat gun, plastic razor blade, adhesive remover, and clean cloth, for removing dirt bike graphics. Prepare the dirt bike surface by removing loose dirt or debris, cleaning it with a mild detergent and water solution, and drying it thoroughly.
Restoring Dirt Bike Plastics First things first - start with a clean bike. Follow our Dirt Bike Cleaning Tips & Tricks guide to get your dirt bike prim and proper. A popular choice and easy option is of course to invest in a full graphics kit.
I peeled of old crappy graphics on my front fender and side plates. How do I get the rest of the residue off?
Learn how to keep your dirt bike looking fresh after a tough season with these pro tips! From giving your bike a proper clean to inspecting graphics, fork seals, and plastics for damage, this guide covers it all. Refresh your style with Omega Moto Graphics' durable graphics kits or custom upgrades, and protect your investment with clear wraps and proper storage. Ready to gear up for your.
The materials required are rubbing alcohol, water, and soap for cleaning the surface after removing the graphics. The Removal Process Step-by-Step Guide on Peeling Off the Old Graphics Peeling off old dirt bike graphics may seem like a daunting task, but with the right tools and techniques, it can be a straightforward process.
Proper technique during cleaning is crucial to maintain the longevity of dirt bike graphics. First of all, start by wetting the graphics with soapy water and gently wipe away dirt in a circular motion.